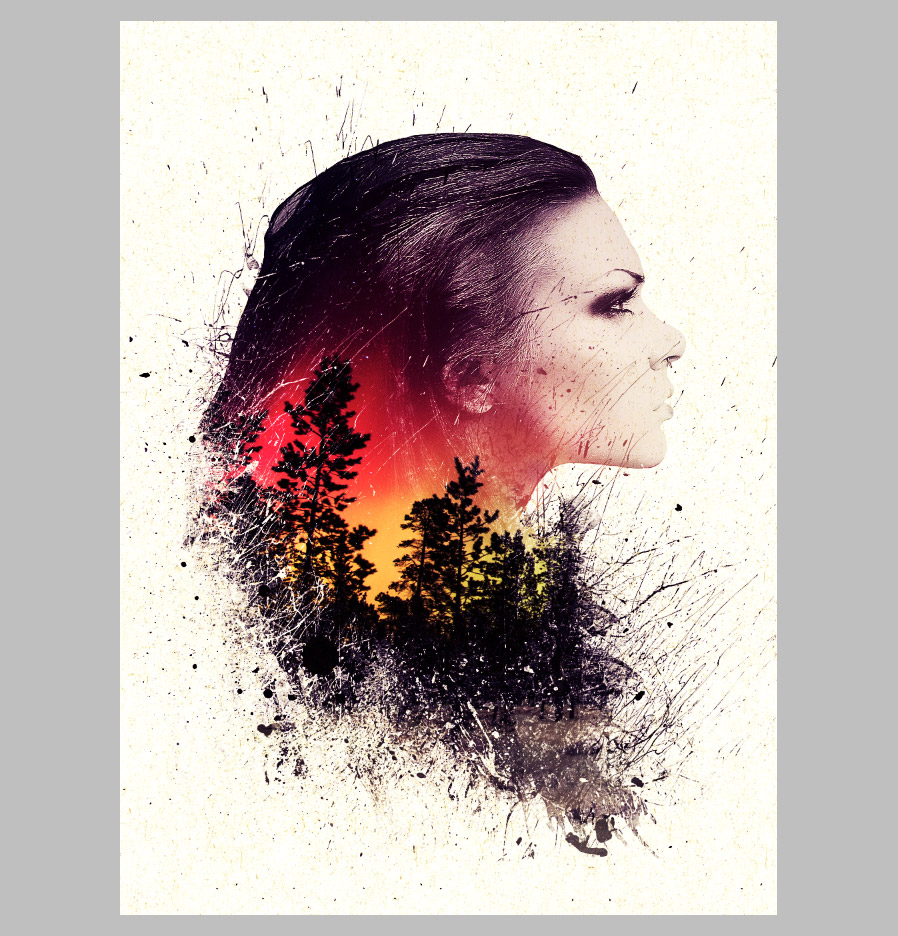
Create an Easy Double Exposure Portrait in Minutes
Double exposure is a cool effect that has been around for a long time. In the film camera days, it was accomplished by exposing the negative twice on two different scenes. Now this effect can be easily created and embellished using a few simple tricks in Photoshop. Below, I'll show you how in this easy tutorial.


Step 1 - Gather Photos
First up, we need some good photos to create our double exposure with. For the portrait I chose this image by TwiggXStock on deviantArt.
For the landscape image I chose this excellent aurora borealis image from UnSplash.
Step 2 - Cut The Portrait from it’s Background
Create a new image in Photoshop. Mine is 1970 x 2680. Copy and paste both images onto new layers within the document. Hide the landscape shot for now. Using whatever selection method you prefer, remove the background from the portrait. I used Quick Mask Mode (Q) to paint the selection. I also converted the portrait to black and white by pressing Cmd+Shift+U.
Step 3 - Create the Double Exposure Effect
Click over to the Channels panel, and Shift+Click the RGB channel. This will create a selection of the portrait.
Head back to the layers panel and turn the portrait layer off. Now select the landscape layer and turn it’s visibility back on. With the selection still made, press the Mask button at the bottom of the layers panel.
Finally, with the new mask selected press (Ctrl+I) to invert it.
Step 4 - Embellish the Effect
This is my favorite part. For this step, I used a free brush set from WeGraphics called Mixed Media. You can download it here.
Select a brush from the Mixed Media set. Make sure your foreground color is set to white. On the layer mask, begin clicking, to remove portions of the portrait. Switch your foreground color to black to add portions back.
Choose different brushes and resize and rotate them to build up an effect similar to mine.
Step 5 - Add texture and Lighting
To wrap it up I added a gradient map above all layers and set it’s blend mode to “Overlay”. I used #290a59 for the purple and #e1be9d for the light orange.
And finally I added a texture from the Recycled Paper Textures here at MediaLoot. I placed this texture on the bottom most layer.


That’s it! This effect looks very complex, but is really quite easy. It can be applied in any number of ways for different looks. I’d love to see what you create. Please feel free to share your results in the comment fields below.
Create an Easy Double Exposure Portrait in Minutes
 Reviewed by Unknown
on
Saturday, February 20, 2016
Rating:
 Reviewed by Unknown
on
Saturday, February 20, 2016
Rating:


No comments